Install Belune
Bring a fresh Belune install online — installer, systemd, HTTPS, and the first login.
This is the end-to-end path from a bare Linux host to a running dashboard on your own domain. The installer handles the boring parts automatically — compose file, secrets and image pull.
1. Prerequisites
- Linux host with 1 CPU & 2GB RAM.
- Root or sudo access on the host (for the systemd unit and ports 80/443).
- A domain you control, for TLS via Let's Encrypt. A bare IP works for evaluation but not for automatic TLS.
- Outbound HTTPS to the container registry, your git host, and Let's Encrypt's ACME endpoints.
2. Run the Installer
curl -fsSL https://belune.dev/install.sh | bashThe installer will perform:
- Checks for Docker Engine and installs it (via get.docker.com) if it's missing — Linux hosts, as root; set
BELUNE_SKIP_DOCKER_INSTALL=1to manage Docker yourself. - Creates
/opt/belune(override withBELUNE_DIR=/path bash install.sh). - Downloads
docker-compose.ymland the Caddyfile template. - Generates a
.envwith freshJWT_SECRET,ENCRYPTION_KEY, and Postgres password — keep this file out of version control. - Pulls the pinned Belune image and runs
docker compose up -d. - Waits for
GET /healthzto return200. - On a root + systemd host, installs and enables the
belune.serviceunit so the stack starts on reboot. Daily backups run in-app (see Backups) —belune-backup.serviceis also installed, but only as a manual/CLI fallback (systemctl start belune-backup.service), not on a timer.
When it finishes, the panel answers at http://<host> — the server's bare IP,
over plain HTTP. That is expected: you set a domain from inside the dashboard in
step 5, and HTTPS follows.
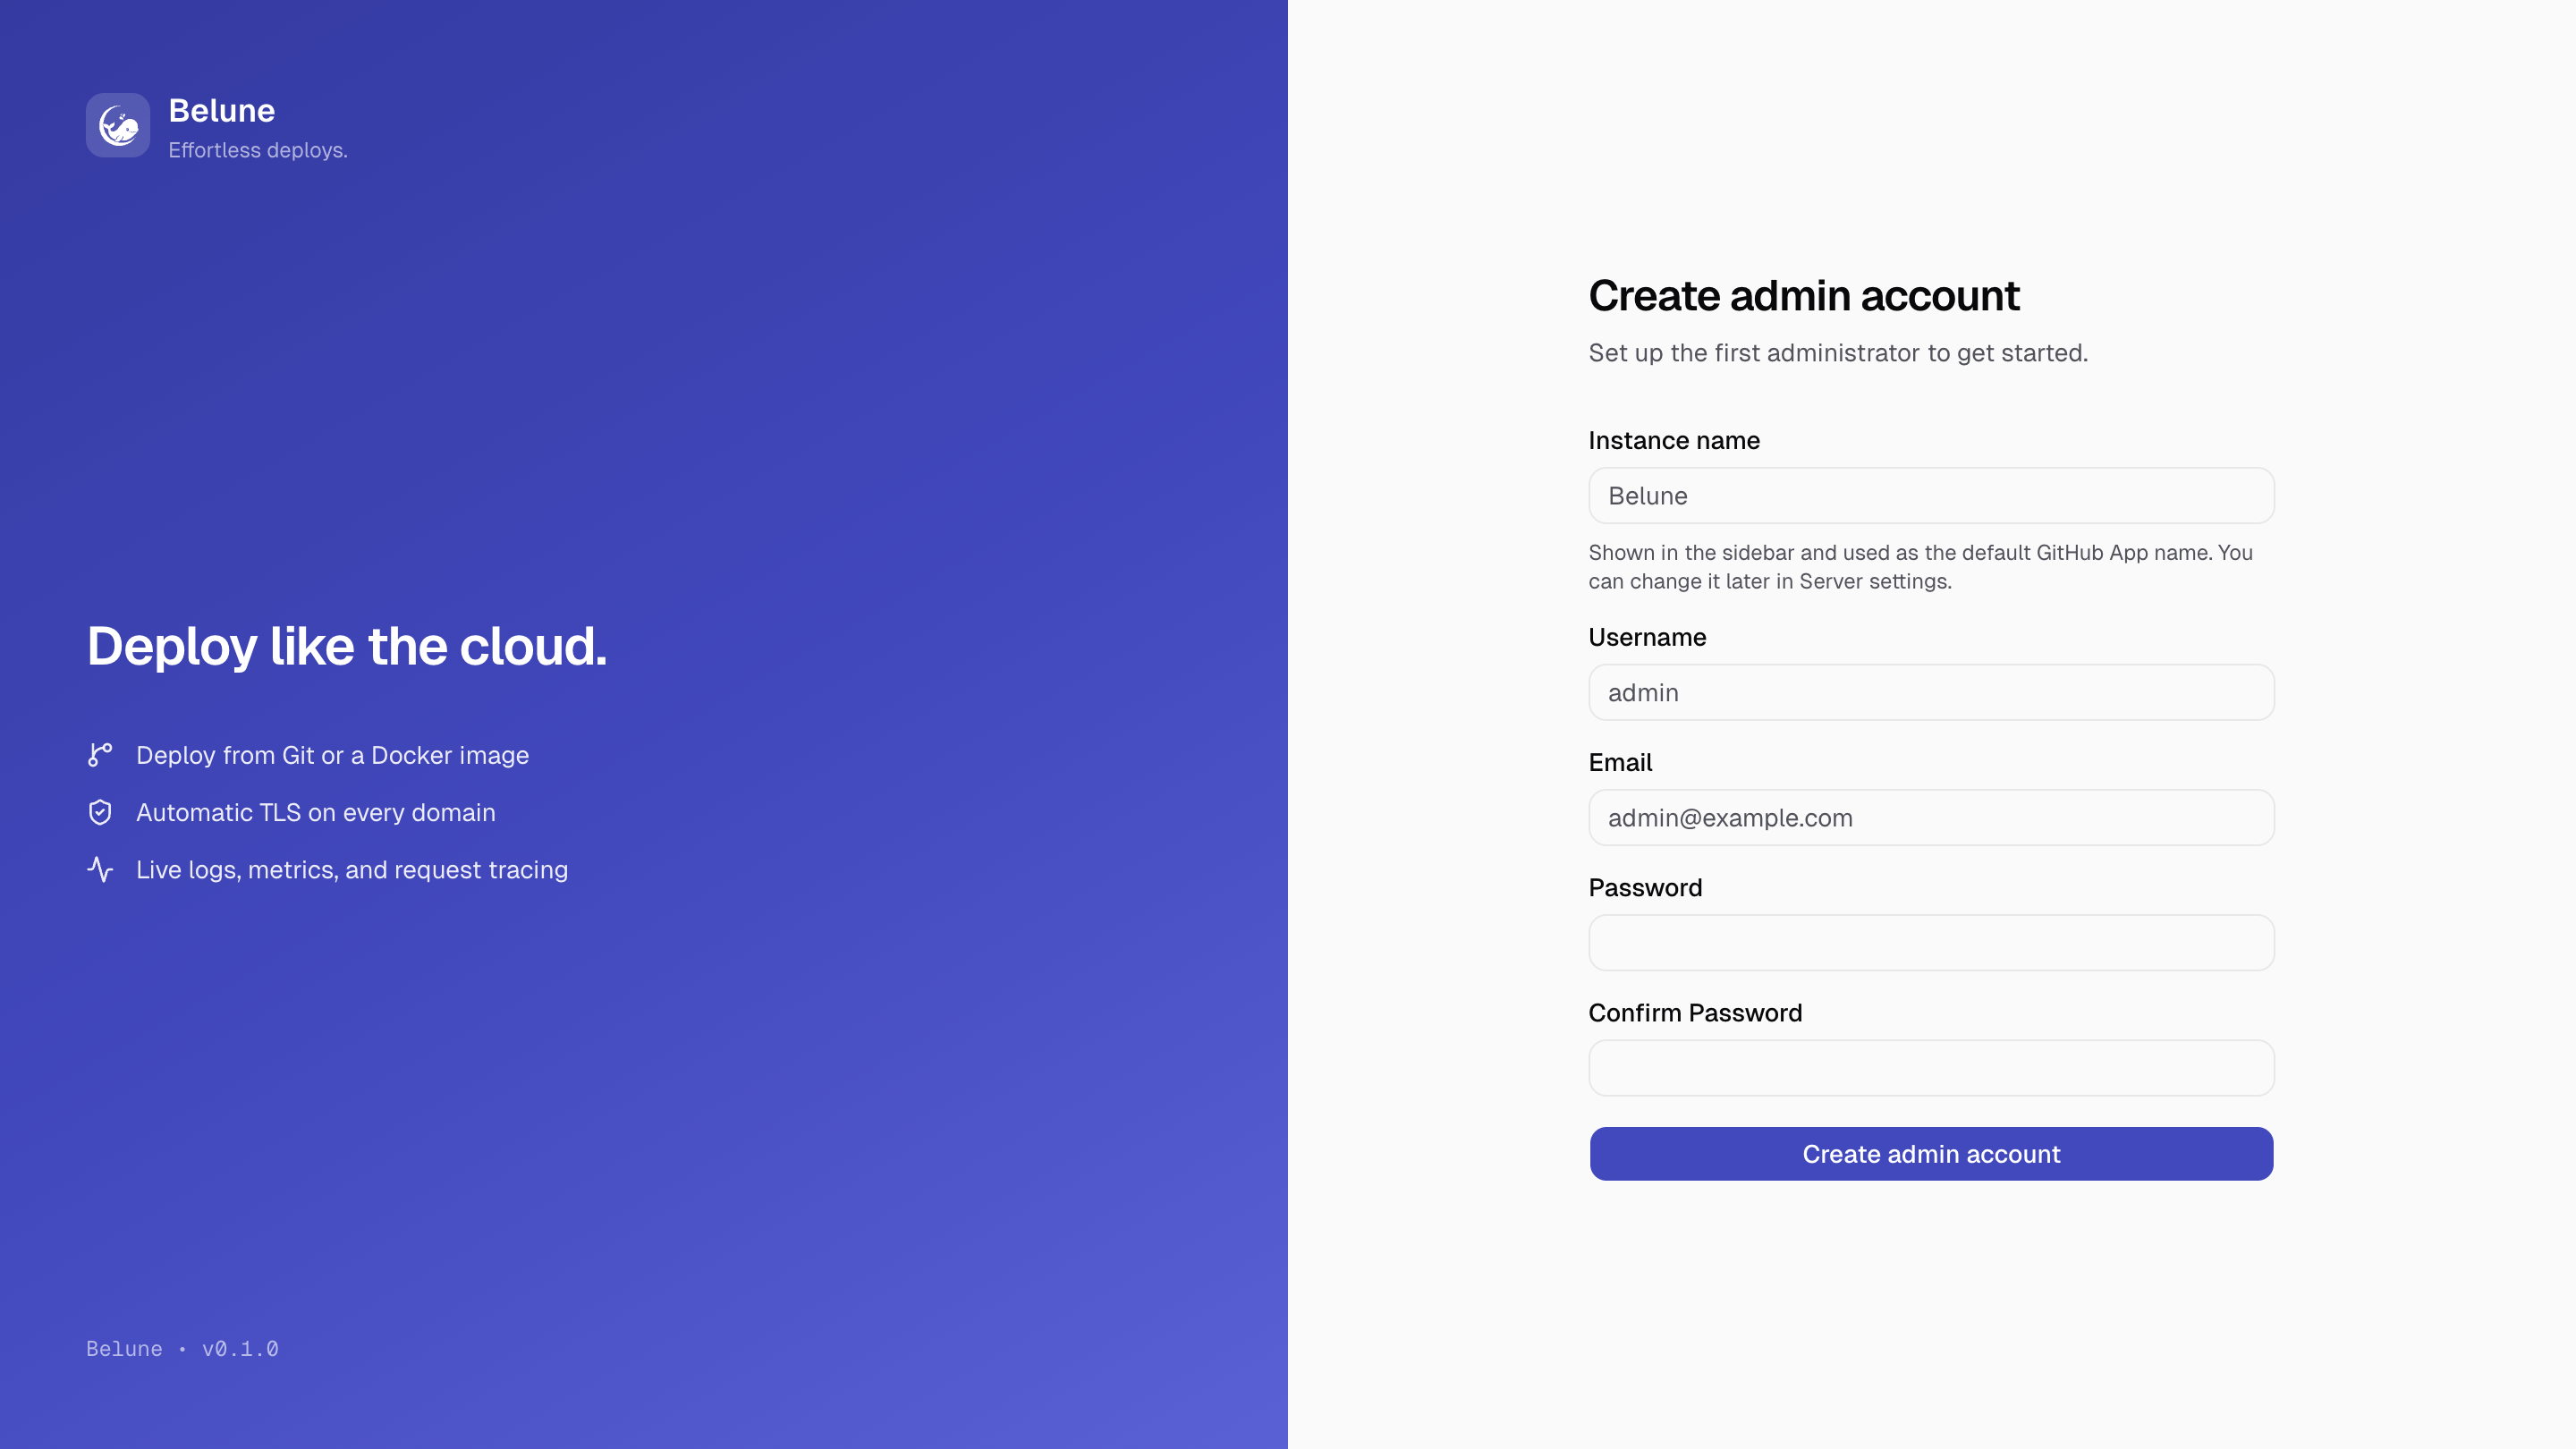
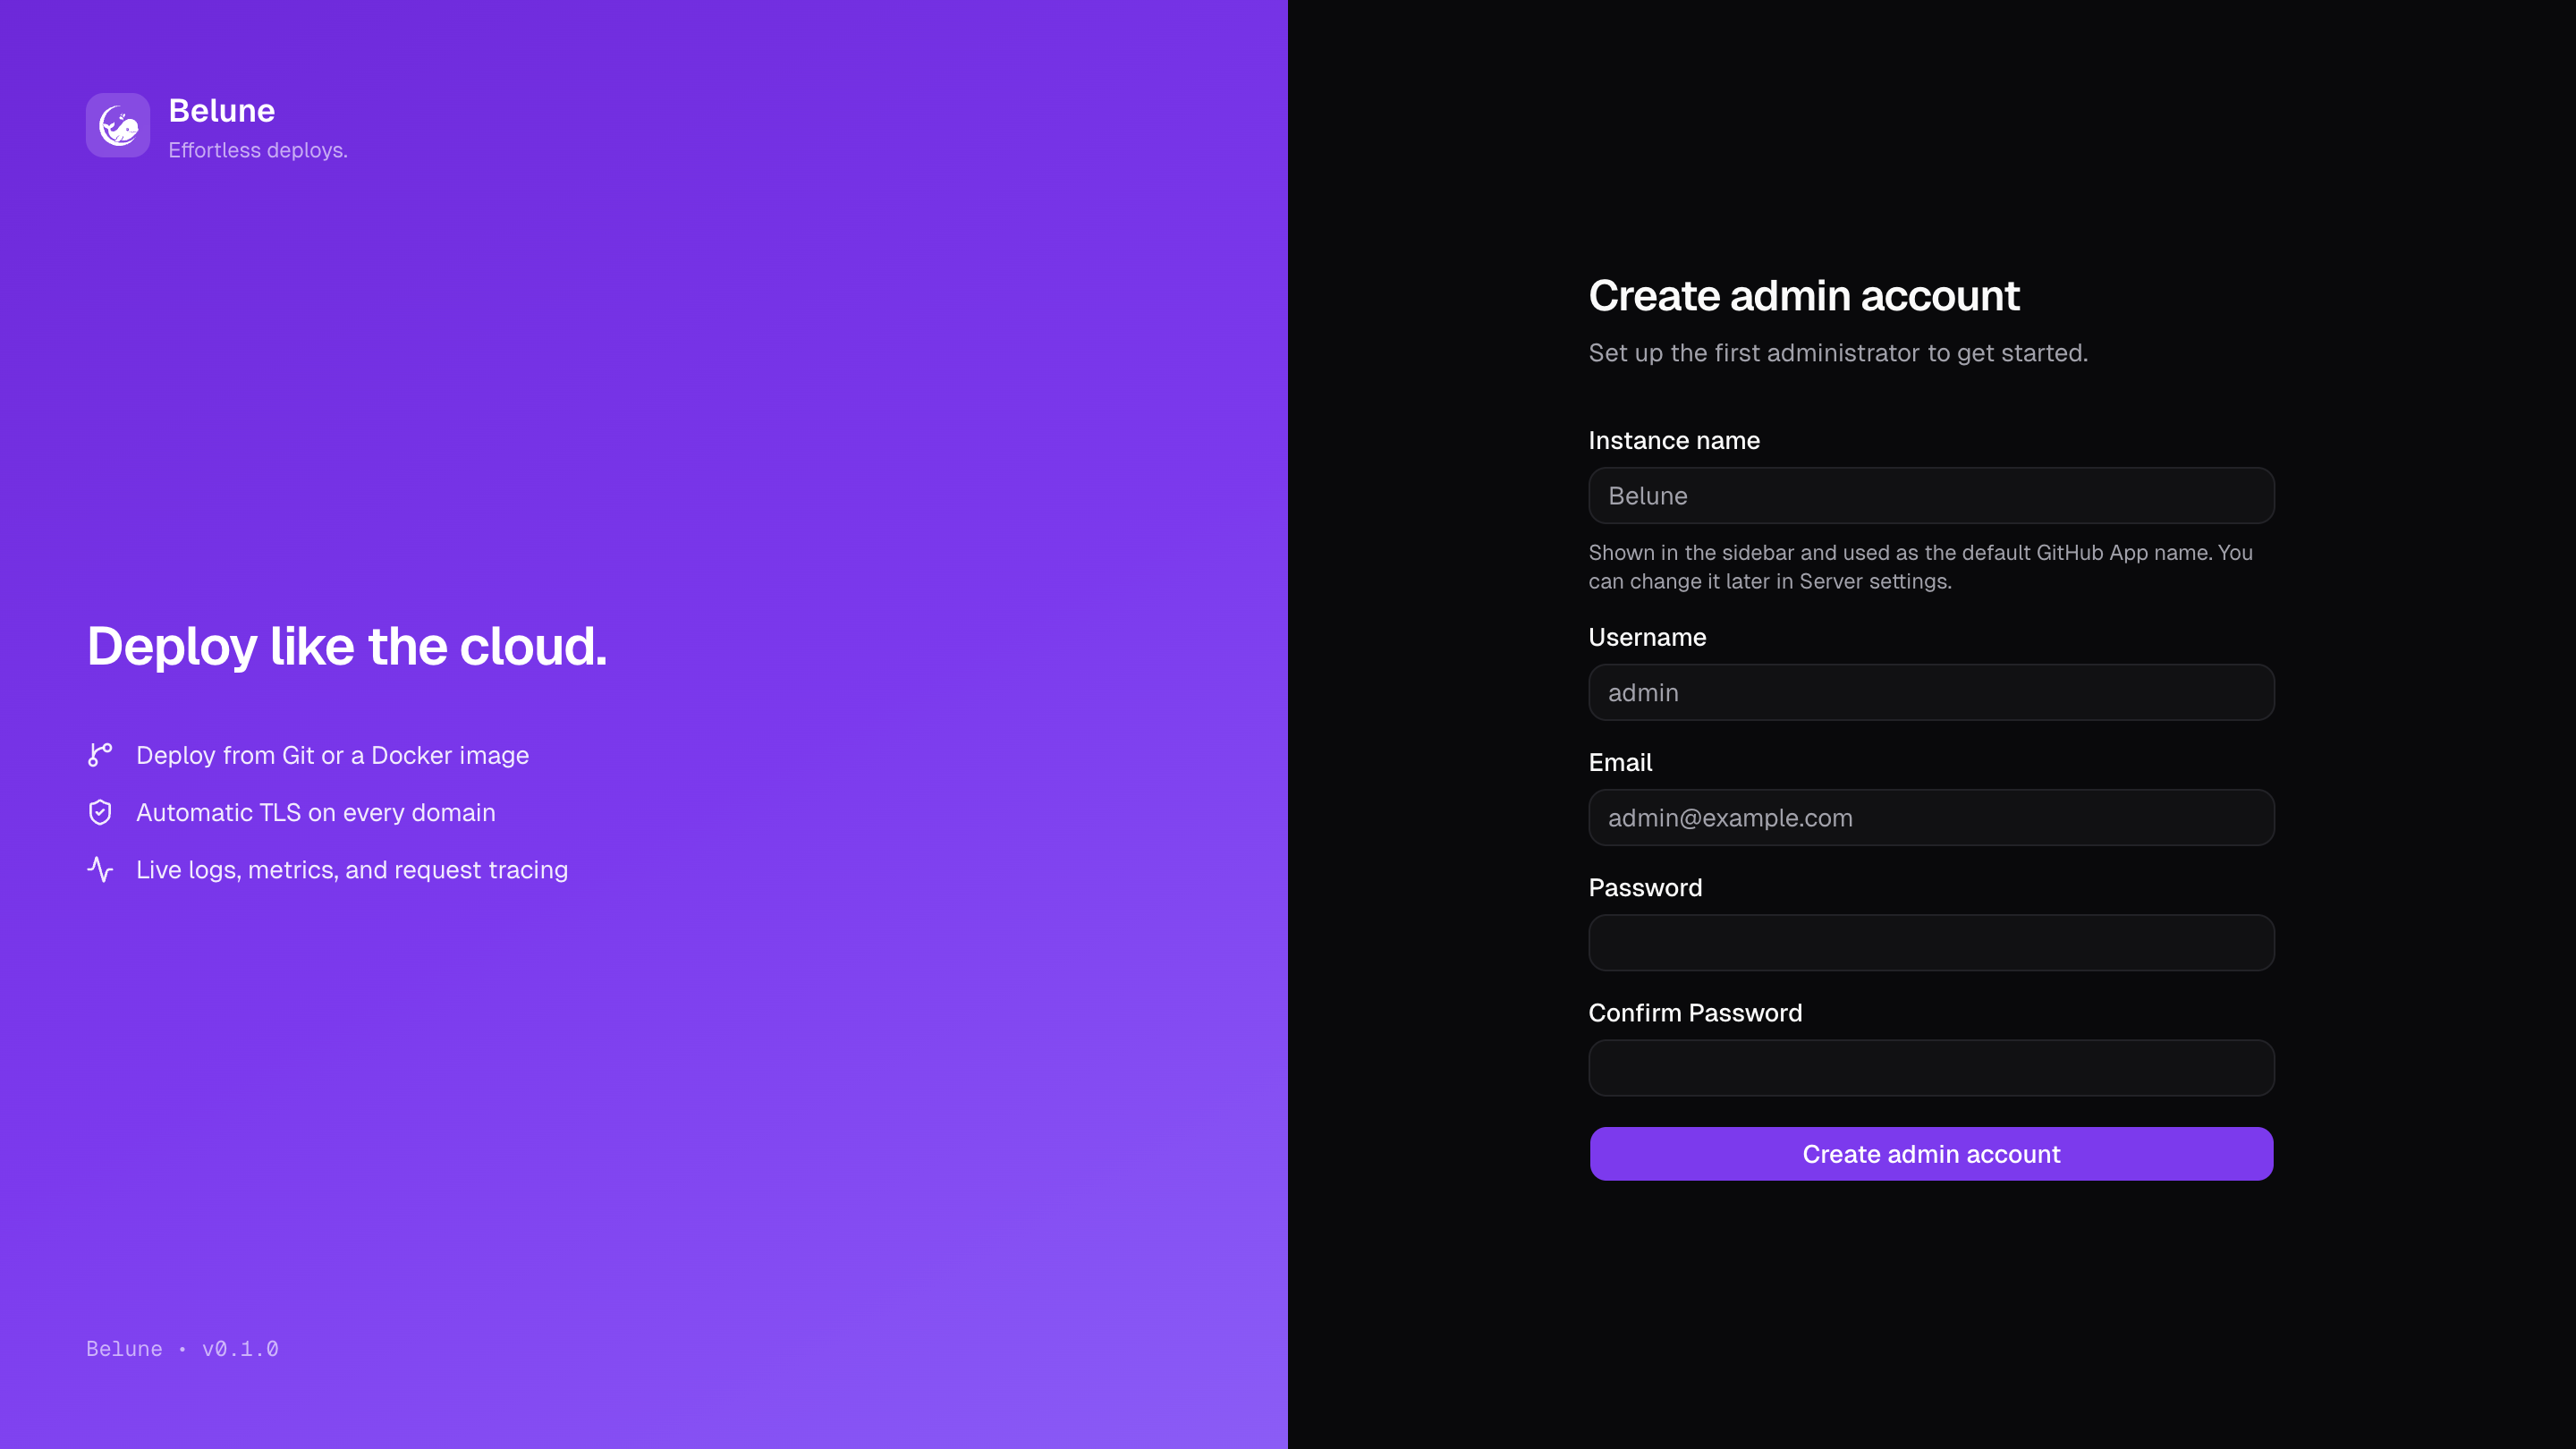
3. Bootstrap the Admin Account
Visit http://<host> in a browser. The first-run page asks you to create an
admin account. After that, login is required for everything.
4. Point DNS at Your Server
Create DNS records pointing at the host's public IP — the panel's own hostname, and a wildcard so every app you deploy gets a subdomain without a new record each time:
| Record | Type | Value | Purpose |
|---|---|---|---|
belune.example.com | A | your host's IP | Dashboard + API |
*.example.com | A | your host's IP | Optional, Apps deployed on the platform |
Use AAAA records if your host is IPv6-only, and a low TTL (300s) while you
set things up. These must resolve before the next step — Let's Encrypt
validates the domain over public DNS.
5. HTTPS for the Dashboard
To serve the dashboard on your own hostname with a Let's Encrypt certificate:
- Go to Server → Configuration → Dashboard domain.
- Enter your panel hostname (
belune.example.com) and Save.
Belune publishes that hostname to Caddy, which requests a certificate automatically. The badge goes from Waiting for certificate to HTTPS active, usually within a minute.
Port 80 must be open even though the site runs on 443 — it is how Let's Encrypt validates that you control the domain.
If the badge stays on Waiting, the Certificates page walks through every failure reason.
6. Updating
Updates are a deliberate, version-pinned step — run sudo bash scripts/update.sh from /opt/belune. See Updating for the full routine: pre-update backup, infra reconcile, health-gate, and rollback.